


AVC Intra (4K class) transode to Prores
“I am embarking on a big project where the footage is shot on Varicam 35 in AVC Intra (4K class in 442 and 444) and saved as MXF clips on a P2 card. I would rather go with transcoding the MXF files to ProRes 422 (and 4444) so I am much more flexible with file management, proxies and metadata. Can any of you give me a answer as to whether the transcode is a good or a bad idea? In terms of workflow it might just be a personal preference, so my main concern is the possible loss of quality (image & grading). Thanks a lot!”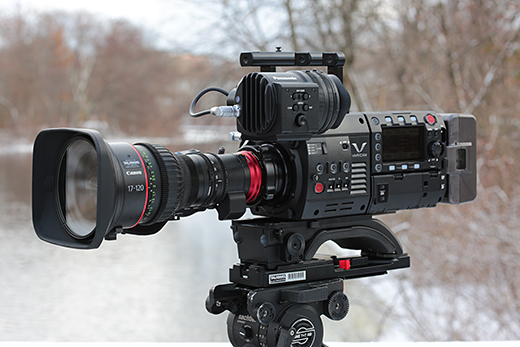
Work AVC-Intra with FCP X
AVC-Intra footage can be transferred using the Log and Transfer window in Final Cut Pro X. However, you cannot export footage back to the AVC-Intra format from Final Cut Pro because the AVC-Intra codec does not support encoding. Therefore, you can transocde AVC-Intra footage to Apple Prores Codec, a codec technology developed by Apple for high-quality, high-performance editing in FCP X.
Here, you can export Apple Prores codec with a professional application called Pavtube MXF Converter for Mac, which can perfectly encode Varicam 35 AVC-Intra P2 MXF 4K video to various different types of Apple Prores formats for editing in FCP X:
Apple ProRes 422 – Higher quality than Apple ProRes 422 (LT);
Apple ProRes 422 (HQ) – Keep original video quality for editing in FCP;
Apple ProRes 422 (LT) – Get a smaller file sizes than Apple ProRes 422;
Apple ProRes 422 (Proxy) – Used in offline workflows.
Apple ProRes 4444 – Edit and finish 4:4:4 material.
Besides that, the program also enables you to transcode Canon XF-AVC-Intra, Panasonic AG-PX250 AVC-Intra to your desired Apple Prores Codec for editing with FCP X.
How to import and edit Varicam 35 AVC-Intra p2 MXF 4K Video in FCP X?Step 1: Copy AVC-Intra media files to the program.
Copy the entire content of the P2 card containing the footage to a seperate storage device.Step 2: Add AVC-Intra 4K videos to the program.
Run the program, click “File” > “Add video/audio” to add Varicam 35 AVC-Intra P2 MXF 4K videos to the program.
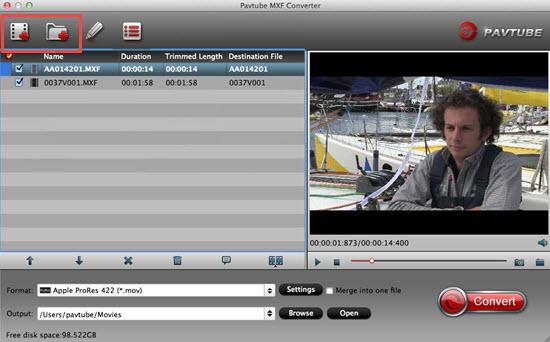
Step 3: Specify output file format.
From “Format” drop-down list, select to out “Final Cut Pro”> “Apple Prores 422(*.mov)” format for editing with Final Cut Pro X.

Step 3: Merge into one file.
On the main interface of the program, check “Merge into one file” option to combine all the separate video footage into single one.
Step 4: Carry out the conversion process.
Press right-bottom conversion button to start AVC-Intra P2 MXF 4K video to FCP Apple Prores conversion process.
When the conversion is complete, you can easily import converted videos to FCP X for professional editing.
Further Reading:
Using P2 AVC-Intra 50/AVC-Intra 100 MXF footage with Final Cut Pro
Import Panasonic AG-HPX370 P2 MXF to FCP 6/7 with multi audio channels on Mac OS X 10.9 Mavericks
Panasonic AG-HPX600 Review: Manage HPX600 P2 MXF files on Final Cut Pro (X) effortlessly
Transfer Panasonic AJ-HPX2100 P2 MXF to Final Cut Pro 6/7
Transfer Panasonic AG-HPX 500 multi-track P2 MXF to FCP X
Canon XF300 MXF to FCP 6/7/X Workflow on Yosemite


Leave a Reply